Ok,this is gunna be a two-parter post.
First i'll deal with the CTR- second will be progress on the Spoon car. They both happened simultaneously but its a bit easier for me to write if i split them up.
-----------------------------
Since the CRX is at fab (along with the tow vehicle) and the Spoon cars wasn't running yet I *had* to be able to drive something on track. Shortly after the last post I made plans to attend ITR/NSX Expo that was going to be held on a Wednesday/Thursday at Thunderhill raceway. This would be followed by a Saturday event that same week at Sonoma Raceway. I took a week off of work for this and it was my original plan to drive the 8 hours up to Northern California in The NSX, track it for a couple days at expo then hit the Sonoma for a few sessions and a swing by Rennsport on the way back down. This would all be in a car that decided to leak out the fresh AC id recharged it with. After checking the 100+ degree forecasts and compiling a list of things i'd need to do to the NSX to get it ready for 3 consecutive events, the CTR started to look like the better option. Pretty much on a dime my focus went from preparing the NSX to getting the CTR ready for its first few track events... that would all basically be back to back.
By now I'd had a couple weeks of driving it around town. So far i love it. It really is a great street car/ sports car. But the first thing I wanted to do was put back on the stock springs. It came on some stiffer/lower Eibach springs and I liked the look of them- but with the 19" wheels they just made the car much to low and I was scraping tire to fender on the speed bumps in my neighborhood and over big bumps on the freeway when I had passengers.
 |
| CTR with eibach springs |
 |
| Back to Stock springs. Looks Perfect on the 19 in my opinon. |
Once I had swapped back to stock springs I'd decided to recheck the alignment and make sure it was all pointed in the right direction. I put the car up on the hub stands and use my string alignment kit, Its REALLY nice to be able to do this myself and not have to trust someone else to fit it into their schedule.

One of the main things I felt right when I got the car was the pedals were a bit to far apart to correctly heel toe. Yes the car has an auto rev match, but it seems to me that around 1 out of every 100 or so shifts feel like the rev-match doesn't get interpreted correctly by the ECU. A cheap insurance for this is to just heel toe shift like you would in any other car. I use both and it actually works quite well to leave the auto rev-match on and also heel toe. When doing so the computer will pick up that little bit of slack you may not have given the revs or even back you up if you'd totally blown a down shift completely. I think of it as a good back-up to have in reducing the risk of zinging the motor.
To help bring the pedals closer together I bought the Acuity pedal re-locator. Since the CTR has a drive by wire car throttle pedal it can be placed anywhere you need it without having to worry about a traditional cable kinking or sticking after moving it only a few millimeters.

You can see how it works below, they offer a few different provisions that you can choose between. I liked mine further to the left about 1/3 inch closer to the brake pedal at stock height

Next thing I had to do for my sanity was to get rid of the AWFUL OEM steering wheel. It literally looked like it was taken out of an 80's speedboat. The red is two shades off from any other reds in the interior and it just feels cheap.

In its place I got a oem wheel that had been re-wrapped in Alcantera and thickened by 3mm. It has a much beefier and more luxurious feel that offers better grip when wearing racing gloves. Obviously the radio and cruse controls are retained, as well as the air bag.


Thunder Hill raceway and the event were effing GREAT, it was my first time on the TH track and i REALLY liked the technical flow of it. Every corner was unique and required multiple techniques to get a fast lap.
The morning sessions were nice, at about 70* temp then it would progressively get warmer and peak up in the hundreds. The event was set up for two days at the track and I was registered as an instructor, which meant I had free reign to get on the track during any session. I drove basically non-stop for the full two days, trying for lap times when it was cool and giving ride alongs when it was hot. It basically felt like I got 4 full track days worth of driving crammed into two, and the car didn't skip a beat. I did get the fuel starve CEL twice- but that was my own dumb fault for not keeping the car fueled past a quarter tank. All in all it really did an excellent job and i'm thoroughly impressed by Honda's effort.

The one downside that i'll need to remedy as soon as someone comes out with a good solution is the need for more front camber, I had to rotate the tires front to back a few times over the couple days just to try and get even tire wear.
 |
| These were new tires a week ago |
Fast lap vid here:
After the couple days running at Thunder Hill I took a trip back down to the bay and hung out with my brother, he a pilot so naturally we went up in an airplane and took a pass over Sonoma Raceway where id be driving the CTR the next day.
 |
| Pretty cool to see it from the air, its really a beautiful track and surroundings. |
The next day I showed up late to the event and decided to only pay for one session, I unloaded my car and got on track for about 4 laps until a Subaru got loose in the back esses and sailed off into the tire barrier. The session was red-flagged 6 min into a 20 min session and I got hosed on being able to learn the line and go for a fast lap. From what I did get to see it was pretty fun, there's a lot of off camber turns and elevation that looks really fun to drive at the limit. There are walls everywhere so it would definitely be a track where you'd want to work yourself up to speed.

A couple weeks later Speed Ventures and HFF challenge were having an event at Chuckwalla Valley Raceway. I REALLY like CVR, especially the CCW configuration. Same situation as before- Spoon car apart and CRX and rig still at fabrication, meant the CTR was up to bat again.
With the Thunder Hill days, Sonoma day, daily driving, going all the way up north and back then my daily commute to work for a few week, my tires were looking pretty ruff. I considered getting new tires before the event but after remembering how punishing the track surface is I decided to run the same tires that I had on the car to their cords, then get a fresh set of after the event.
Because of the tires were donezo the car was obviously really loose, it did make for a fun couple sessions though. I ended up calling it a day after a 2 and a half sessions on account of cords showing on the tire face.
 |
| Like I said, car needs camber.. |
 |
| HFF podium winners |
Fast lap and walk through here:
Once I made it home the car went up in the air while I did some basic maintenance and got new tires mounted
 |
| Fresh RE71r mounted |
 |
| Trans flush, and oil change |
 |
| While I had the air box out to fill the transmission fluid I threw in a new airbox with less restrictive intake pipe. |
I'd also noticed that there was a knocking sound in the rear sway bar that was progressively getting worse and worse. I pulled the bar and end links off to check for witness marks and found a few spots that it may have been contacting.
 |
| end link damage from the lower control arm cross support. |
I clearanced the sway bar and took 5/32 of an inch off of the lower control arm cross support. put it all back together and still it rattled and clanked.

I was starting to think that I had actually blown out my rear end links, which would be rare for the amount of miles I had on the car but not all together out of the question. I this point I would try anything to make the thumping and clicking go away and I ordered front and rear Whiteline end links and sway bar lateral clamps.

I extended the end links as far out as I felt comfortable to gain sway bar clearance and set the proper pre-load on the sway bar with the suspension compressed.

I did the same with the front and GOD what a pain in the ass. Just swapping the 4 end links and setting them up took 4 hours and 30 min.. a crazy amount of time for a really straight forward job. It was all lots of undoing and redoing to get it just so.

If anyone didn't know, you need to set the pre-load on adjustable end links with the suspension compressed (typically on the ground with the car at rest). You'll set one side at a length that lets it avoid contact with other suspension parts, then adjust the other sides length similarly with the goal of keeping the swaybar untensioned when both links are installed and the car is sitting under it own weight. Unless you have a drive over pit- the best way to do this is to use two jack stands to carefully support and lift the car an equal amount on both sides wait a few min for the suspension to settle in. (don't get under the car when its supported by jacks alone) but you'll have room to make end link adjustments and tighten everything down. Do it the same for front and rear.

Now that the car was ready and the clunking gone, i decided last min to take it to Buttonwillow raceway and get a baseline.

The rain we were having looked like it would hold off for the event itself but since we had already had few days of rain in a row I knew the track surface would remain pretty slick. During the first few sessions the straights and braking zones had some water in patches in the dips and on the curbing. It was a slow track, and I was still getting used to the shifting points but still managed to run a 1:59.3.
The next couple sessions I made some pretty fast sector times only to blow it on the last coupe turns. This is an interesting difference between the CTR and say my CRX. I believe the the CTR is easier to over drive, actually it requires it to go fast. Don't get me wrong, Its pretty good at 80% effort- but when you get comfortable enough start to over speed on corner entry and play with trail braking you can get much higher apex speeds. Its all about using the rotation to your advantage. Because of this i found myself always sorta on that edge between a 'fast lap' and 'over doing it'. You really need to just put everything together and see what comes out the other side.
Like clockwork I was hitting back to back to back 1:59.1's for a few sessions. After getting more comfortable staying flat through riverside and adjusting some tire pressures I went out and lapped CW13 at 1:58.3. Tantalizing close to a 1:57. In a stock car none-the-less- That's a pretty impressive time. I was unable to put the 1:57 together this outing but you can see in the video below if I cleaned up a few things cutting 4 tenths shouldn't be a problem.
Once I got home I did a once over and noticed that the rear pads are already almost completely gone. Fronts maybe have enough life for two more track days but I went ahead and ordered a set or Porterfield R4-S for the front and stock Honda Brembos for the rear.
 |
| rear pad |
As of writing this I have another two events pretty back to back and i'm positive that the CRX and tow truck wont be ready. That means I'll be taking the CTR out again, which im super OK with. Its a really fun and rewarding car to drive. This weekend at Streets of Willow and the end of the month ill be back at ButtonWillow Raceway for another shot at 1:57's
-------
OK, Now onto the Spoon Car.
Once the transmission was done over at Ghostworks I was ready to put everything back together then drop the motor/trans as a unit back into the bay. After some back a forth I'd ended up selecting an Exedy racing clutch/pressure plate combo to mate with a Competition clutch flywheel. I also picked up new OEM flywheel bolts and ARP Pressure plate bolts.


Genuine Spoon sports transmission tag.

Its nice to have it done but i've found that fixing a transmission is always one of the most expensive parts about building a car.

Ready to get put together.

I forgot to take pictures of the prossess but its all very straight forward. Just remember to check and mark each bolt as you snug them down, do it in steps while you creep up to your final torque setting, also don't forget the input shaft bushing.
Because Im not using the OEM pan the flywheel is exposed, this is not a problem. just get a fly wheel cover plate from and RSX base model PN# 21351-PNA-000
 |
| naked flywheel |
Now that the transmission was reattachedwith the block it was all ready to go back into the car.

The last thing I'd need to do is to get the motor mounts ready for install. I'd considered getting some aftermarket billet mounts but decided they'd look to out of place in the bay. Instead i'd decided that I would use the stock mounts but reenforce them with Flexane. I've done this on a few cars, including my NSX and it is the best bang for the buck as far a improving a stock mount but not going overkill. You need to make sure that you thoroughly clean the rubber surfaces with the Devcon flexane surface primer, its an essential step to get the urethane to bond correctly with the rubberized surfaces.

After cleaning and drying you mix the parts by weight, fill mounts and allow to set up for 36 hours. You can see here I'd taped off the bottom of the transmission side mount and poured the mix into cavity. You want to go slow and make sure that you don't introduce any bubbles, which is kinda easy to do as it has the consistency of maple syrup.

Once all that was dry and set I mounted them back to the frame rails and hoist the motor in, there's a bit more room to maneuver than my CRX but it still took a bit of finagling to get to go in.


Now that I had the motor in I could finalize the hoses lengths i'd need to plumb things like fuel, clutch and brakes. Once everything was measured and routing was decided on I took a trip over to VF Sales where I had all the lines made. I also had a fitting lathed down to create a larger contact patch with the Honda Slave cyl. It's really cool to have built relationships with some brick and motor stores over the years, They seem genuinely interested in whatever project I have going on and will go out of their way to help with something if they can.
 |
| Fitting on the lathe |

Clutch cable, cabin brake lines and caliper brake lines.

Now I had what i needed I was able to start to plumbing everything up and reverse bleed the slave cyl to the clutch master. If you don't have a reverse bleeder, get one, they save so much hassle especially when working on cars by yourself.

Now that I had clutch pedal pressure and verified that I put it all back together correctly I was able to measure out and cut my main fuel line length and start to attach things like the throttle cable and engine harness.

While attaching things I found the upper water line now has interference with the intake hose after adding throttle body adapter. Since the throttle body has been spaced out an inch further out it creates an awkward angle to sneak the OEM Intake hose over. There are a few solutions I have in mind but I wanted to wait and get everything else plumbed before deciding on the best way forward.

Before the transmission was back I'd bought an external oil adapter from TracTuff with a remote filter mount. The idea was I would be able to run the filter to a better location than stock and have the ability to eventually add an oil cool if I felt that the car needed one.
 |
| TracTuff oil adapter and filter relocation mount. |
 |
| Doable- but less than ideal routing. |
I'd already removed the stock donut cooler to add the block adapter, and now removing the block adapter meant I'd need to add a shorter threaded stub to be able to screw the oil filter directly onto the block. No problem. Honda makes the part and it shipped and arrived a few days later
After feeling the crunchy old throttle cables actuation I decided to order another one from Japan. The wait was a couple weeks as the JDM euro-R cable is literally the only cable that will work in this application. Things like this you just have to go with the flow since there's no other option. In the meanwhile I got busy routing more harnesses and connecting things as I went along.

Once I was able to get power to everything and verify that I was getting good signals I had Katman come over and initialize the Ktuner ECU for its virgin start up.

This one needed more height that the left one.

And this one needed less height than the right one


Here was my temporary solution for the air intake, getting it ready for its first restart

After checking and rechecking I held my breath and hit the starter motor. After a few chugs it fired right up. It didn't want to idle smoothly at first, likely due to the tune fuel pressure and an old blackened 02 sensor but at LEAST I knew that all my wiring was working. That was a BIG relief.
 |
| Picture take right as I knew the car worked. |
Now I could start to rebuild the front end and make it look more like a car again.

Overflow tank mounting. clamps hold everything in place.

Catch can mounting. This was the best spot access to the drainage and the dip stick. The breather and hose just clear the chassis bracing so it work out perfectly.

I also got a steering wheel hook so I can stop having it slide off the dash board and onto the floor.

One night I had Cory bring over some 18x9 wheels to test fit them, They actually look really cool in this size but i think im going to stick with my 17x9 for now. It was nice to see it starting to look like a car again.

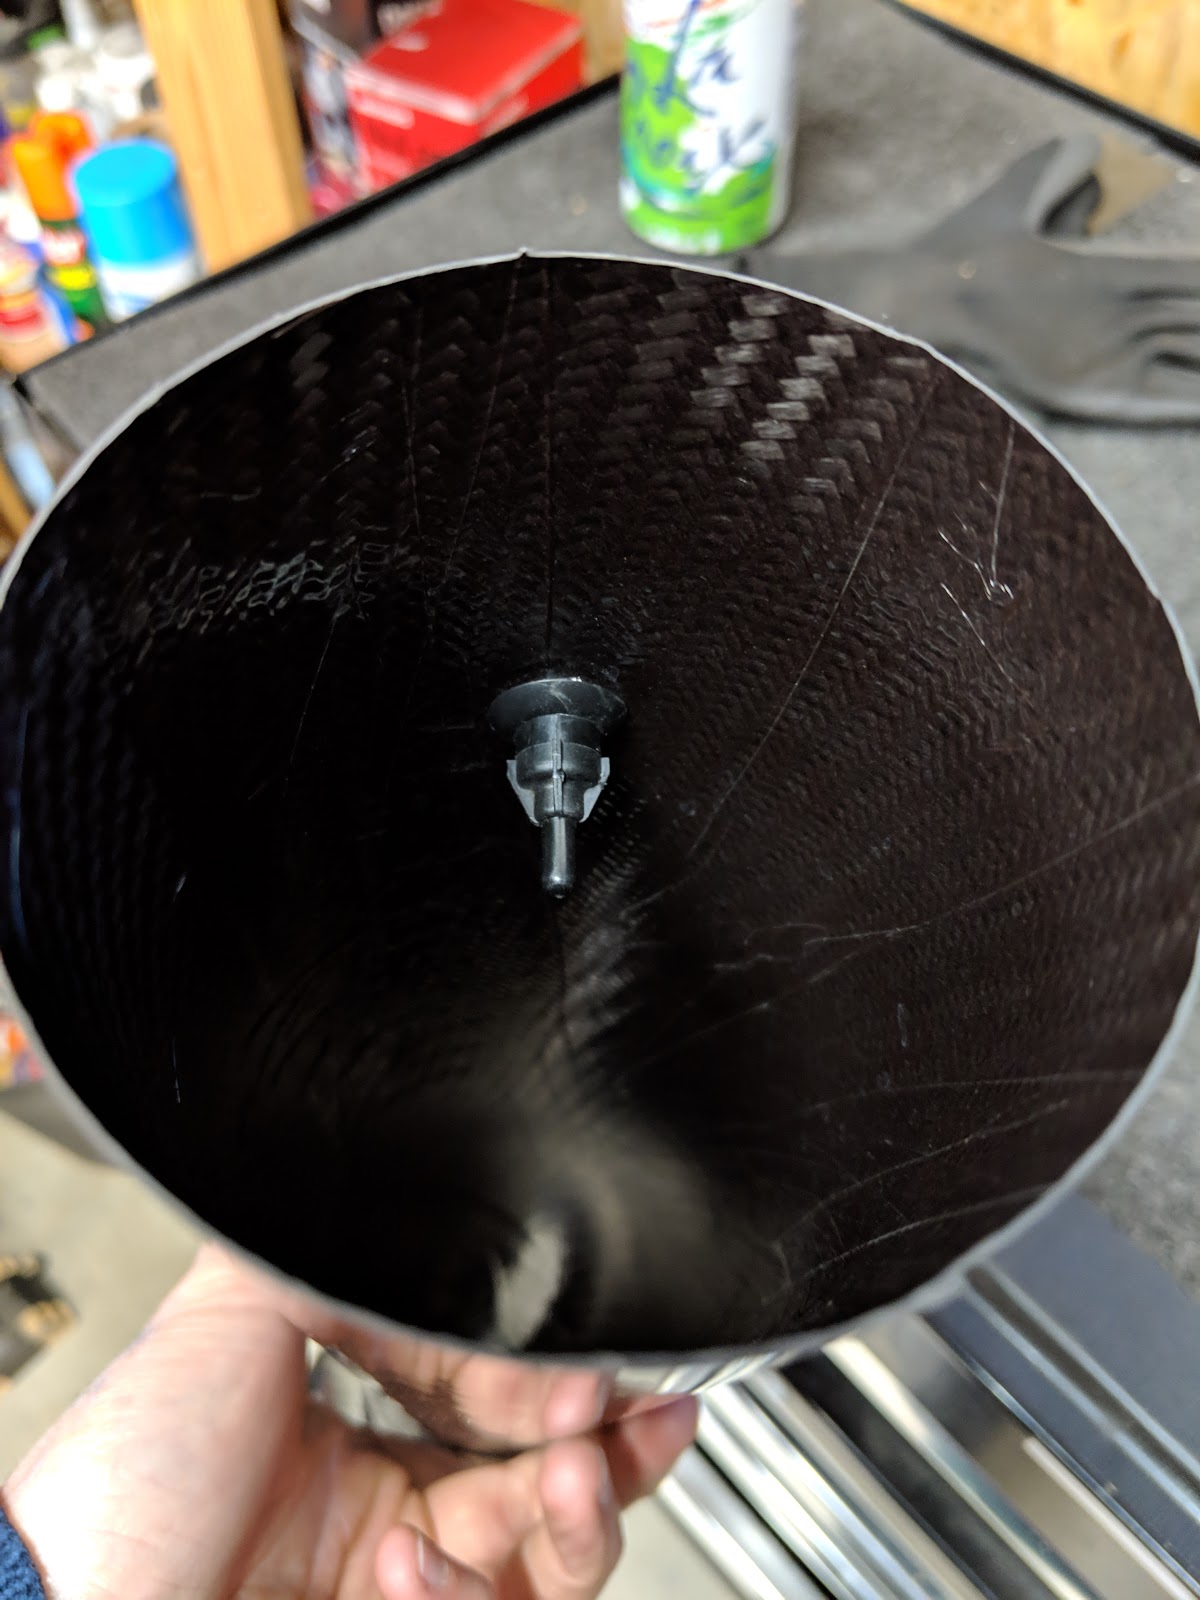
Now that I was able to start to put the garnish pieces on the car I to make some carbon block offs for holes that wold no longer be used. Making stuff like this is all about measuring and shaping slowly. I normally drill a mounting hole and use it to locate the piece every time I do a test fit.


In addition to that there is always a ton of stuff that just takes time to do. For example these clamps here that will be used to keep the shoulder harnesses from moving on the roll bar.. I accidentally ordered the steel ones so I wanted to drill them out to lighten them up a bit.
 |
| 253 grams |

 |
| Down to 197. not to bad. |
I sent the next few day getting things onto the car so I could accurately do the corner weights and alignment. I pulled the car out of the garage under its own steam a few times just to make sure the clutch was engaging properly. I also plugged in the head lights and mounted the bumper and chin spoiler.

Added the ship to shore antenna..

I have to say this thing was starting to look pretty mean.


I set up my alignment plates and created a level surface with the pads and dialed in a rough alignment.. A better alignment will get redone after the corner weights are finalized and i know the ride height won't need to change. While I was at it I lowered the car another .25 inches, just to make it look cool.

Mid corner balance and already achieved 50.12 cross weights at a 2572LB total. For perspective that's about a thousand pounds lighter than a typical TSX. 61% front weight balance.

I had to get creative in finding things to properly add for drivers weight ballast.

Here's the car mid-final alignment; this is the one that I make sure is dead on to the millimeter.

-3. camber in the back 0 toe and -4.0 up front 0 toe.

Now that I had the car running and the alignment done I decided to touch up some of the aesthetic things. I had been back and fourth on weather I should get the whole car repainted or not. Part of me wanted to get it back to the 100% new- and the other part of me really likes the patina and authentic battle damage. After talking to a few trusted friends I decided to leave it somewhere in the middle. I would get new side skirts, so they'd match left to right, paint the trunk and wing, get a new bumper and fender for the passengers side since the old one was wrinkled and damaged. The bumper itself, if you remember from reading a previous entry was not even a legit Honda skin, it was some aftermarket brands which sorta explains the shitty fitment of the OEM Euro-R lip. The paint color on it was also slightly off from the fenders which annoyed me to no end.
Around the back, the passengers side rear bumper would never stay 'popped in' to the clips and protruded past the body surface, (real classy) You could see from the duct tape residue that whoever owned the car had been dealing with that for some time. I decided it needed a more elegant fix than some tape so I took it apart to see what I was dealing with. Once disassembled I found it was missing a metal bracket that was supposed to live under the rear taillight and helped position the bumper into the clips. I ordered the piece new and put it all back together and voila, fixed
 |
| As you can see I got some new tires on the car aswell. |
Another thing that has really bugged me was the packing tape holding down the Spoon Sports livery. It was just UGLY. I took a few hours, heat gunned, and carefully peeled the letters off. Once the letters themselves were off I had to carefully scrub clean the surface smooth before applying a new Spoon Sports sticker.
 |
| This took FOREVER |
I cleaned the B pilar of some paste like gunk and gave it a quick detailer spray, these few things alone made the car about 50% more presentable.

To try and figure out the air intake situation I ordered a stash of carbon tubing from a fellow tuner/ racecar restorer. When the box showed up i was pleased to see it contained all assortments of curves and ID's and that i'd likely be able to find a solution to my air intake/water line. These are all made by Hendrix who is the main supplier of carbon for NASCAR, they make some top notch stuff.

After test fitting and brain storming which pieces would work the best I had a rough layout and measurement and picked up a 3" to 2.75" coupler, some t-bolt clamps and a 10mm grommet for the IAT (intake air tempature) sensor.

Sensor is easy enough to install, drill a hole a few thousandths smaller than the grommet and stuff the sensor in. This is like 99% air tight, small enough that nothing of damaging size can get through into the combustion chamber.

View from inside. With carbon, you've gotta make sure you REALLY clean the inside after cutting it.
Once I had all the parts together and tubes trimmed I installed it. I put heat reflective insulator on the pipe where the radiator fan would be blowing and attached it with wire. The clearance on the upper water pipe is better than it was and definitely usable, but I may still make some adjustments.


The filter sits low under the bumper right in front of an air scoop. Its secured by a strap bolted to the chassis, I do think I'm going to go back and add another hanger for redundancy here.

So after getting everything together and rowing though the gears on the new shift box I noticed that the shifter was having trouble staying in the first gear. To diagnose the problem and figure out if it was the billet shifter itself or something else, I dig out the old shifter box. I bought some parts to freshen it up and cleaned it up in case I the billet box was the problem and id want to leave this one in.

 |
| cleaned up, lubed, and ready to go |
I also decided to buy some brand new shifter cables, once both these were replaced it'd rule out anything outside the transmission itself.
 |
| Old VS New |
 |
| Old vs New |
 |
| Old vs New |
If you have a keen eye you'll have noticed that the USDM TSX shiftier cables come from the factory transposed at the crossover point. I, myself didn't realize this until I had it in the car and the cables wouldn't attach at the correct points. I had to take everything back apart and swap the cables around on the bracket tab and bolt it back in.
 |
| New cables with billet shift bushings |
I have yet to swap back in the billet box, ill likely do it soon, once I run out of more pressing things that need to be finished.

I also decided to add a fuel pressure sensor to the fuel rail so I could keep an eye on pressures that would indicate low levels or a failing pump. Luckily Defi makes it easy to run additional readouts in the same gauge display. You just have to order the Advance ZD specific sensor and connector wire and plug it into the command module.
 |
| New sensor directly on the fuel rail. |

Now the slot that used to display voltage readout has been replaced with a fuel pressure readout that also includes audio and visual pressure warnings.

Since replacing the voltage in the display unit I needed to put one somewhere that I could constantly keep my eye on. If something was feeling weird on the dyno or while on track voltage is normally the first place I look. The space where the emergency flasher button used to live was the perfect size and eye level. I picked up a super accurate American made voltage gauge thats normally used on CNC machines and Deutsche connected the leads before mounting it to the access panel. Having these quickly dis-connectable means I can move the panel as a unit and still have access to the back of the switches without messing with spade connectors that could rattle themselves loose.

 |
| It reads power as soon as the main breaker is switched on. |
Since being able to start the car and run it up to temps I noticed that the way that they had the main breaker switch was wired meant that the car could not be reliably killed by switching the breaker off. This was one of the few things that I 'cleaned up' in the wiring kept the original functionality the same as when i'd taken it apart. Now that I saw it in practice I knew that I would need to change it so it worked correctly. I started by tracing the 10 gauge wires that were going to the switch from the OEM ignition tumbler. I repaired these wires (below in red) and tucked everything back away.

Fixed, rewrapped and re tucked.

I instead used a 7.5 amp fused lead from the electrical box I'd built and connected it to the NOC leads on the master breaker and fed it back to the ECU. This way if the switch is thrown when the car is running the ECU power is killed-- once ECU goes dead it kills all essential circuits needed to keep the motor running. As it should be.

I also threw in a New Bosch primary 02 sensor.
 |
 |
| Secondary 02 sensor plug |
Another thing that just took time but was really bugging me was the paint overspray from one of the many times that the car had been repainted. You can tell that the first couple paint jobs were probably done really well. It looks as if someone took the time to mask off straight lines and remove the seals. after about probably the 3rd or 4th time they just kinda just blasted it on. I went through with sand paper and wet sanded the over spray off where I could, in other spots I had to mask carefully and respray. The color grey that they used is not an off the shelf color but I got some paint that was a really close match.. better than the over spray look anyway.
 |
| Overspray before |
 |
| ...and after |


Here you see the new bumper next to the older one with the discolored paint. I cant wait till that's fixed. You can also see that the side skirts had been removed and sent off with a new set of Euro R side skirts courtesy of a cool dude Nick Bright from Texas that owns and tracks a similar Euro R. The bumper and the trunk are also off at paint at the moment.

So. It runs, drives and will soon be looking good to. I'll need to get the tow truck back first but once I do its off to get a dyno tune and it'll be ready for the track. Just in time and right on schedule. Still a little anxious about tracking a RHD car but im sure that ill get used to it quickly. Ill update here as it all moves along.