
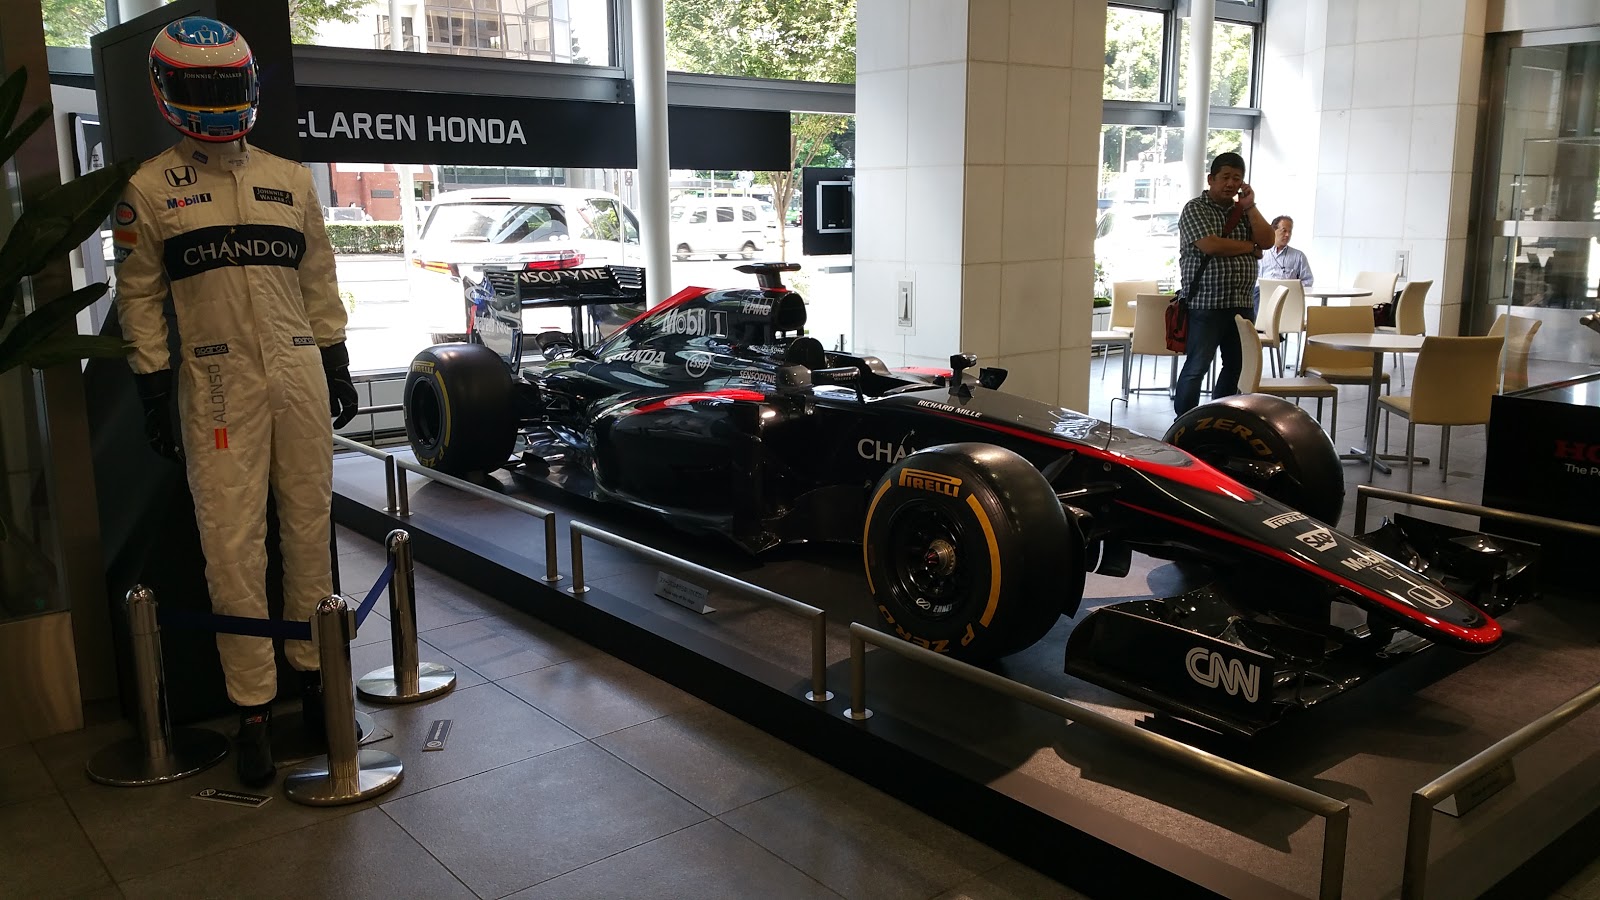
So HFF Challenge mid-season came- and it was HOT. I mean it was 105* at 10am hot. I had decided last min to sign up for the 'lower advanced' as I really had no idea what to expect out of the car. I knew the pieces were there to go fast, but you never know until your actually on the track. The biggest question was "how would the brakes feel now?" I was still being Hyper sensitive to the pedal stroke and pressure- after dealing with this ongoing ordeal of the last couple months and changing so many things i really just wanted it to be fixed. It seemed consistent now, if not a little lower of a pedal stroke than i was hoping, but my goal for the first session was to really just feel it out, get some heat in them and stay out of the way of other cars. I did a cursory check of tire pressures but didnt fiddle with any settings on the coilovers and went off to grid at the back of the pack. We were let out on track and even on the warm up laps it was really hard not to pass some of the slower cars in the group, once under green flag I was passing 5 or 6 of the cars per lap on corner exits. i pretty quickly built up confidence in the pedal and was consistently running in the 58's and 59's while working my way in traffic. By now we were about 6 laps into the session and i knew it would be checkered soon. Despite the high heat the engine temps looked good and tires felt consistent. I was reading the track in front and saw that the next lap would likely be a clean one and I could go for a real flying lap. Coming around Sunset I got a good exit out onto the start/finish straight and blasted past the last car into the braking zone at turn one. The brakes finally felt AMAZING they definitely take a good bit of effort over the stock boosted set up but this is how I was hoping they would feel. By the time I got through cotton corners I sensed that I was still leaving some grip on the table and could probably tighten my line or carry a bit more speed than I was used to. Predictive timer by now had me in the mid-58's. A dab of brakes through bus stop and immediately back to 4th gear for the run though riverside. By the time I got around to the sweeper predictive time had me solidly in the 1:57.00 even dipping into 56's. I knew this was going to be a good lap if I could just carry the momentum through the last corner. I got a solid exit into the esses and was full throttle early on when I noticed my oil pressure warning light flicker and beep, by the second curbing on the esses it was a solid red backlight and alarm, I let off the throttle and pulled offline while watching the pressure drop from 20PSI down to 5 then to zero. Lucky I was right at the track exit so I clutched out and gained enough speed to coast it off track where I killed the power so I wouldn't damage anything anymore than it already was.

Once back at my pit I started to trouble shoot what could have caused the problem. I was hoping that I had a bad sensor or something simple and swapped the fuel pressure sensor to the oil sensor port and viceversa then tested the fuel pressure. Sure enough that wasn't the problem and it looked like my day was done. Worse part of the whole thing is I had a flight the next morning to Japan so getting to the bottom of this would have to wait.
 |
| 108* and standing over a hot engine, whats not to love. |
As it turns out, other people had problems of their own and one of my laps through traffic ended up being fast enough to win the HFF competition for my class. I was happy but still would have liked to at least crossed the line in the 56-57's. this was just a tantalizing glimpse of what could be a very quick car on a fall morning with dialed pressured and shocks.


----------------------------------------------------------
Trip to Japan Interlude:


Here, i'm going to skip ahead for a few weeks. I'll circle back and talk about that time period in the next blog post, but for now I wanna stick with the CRX..
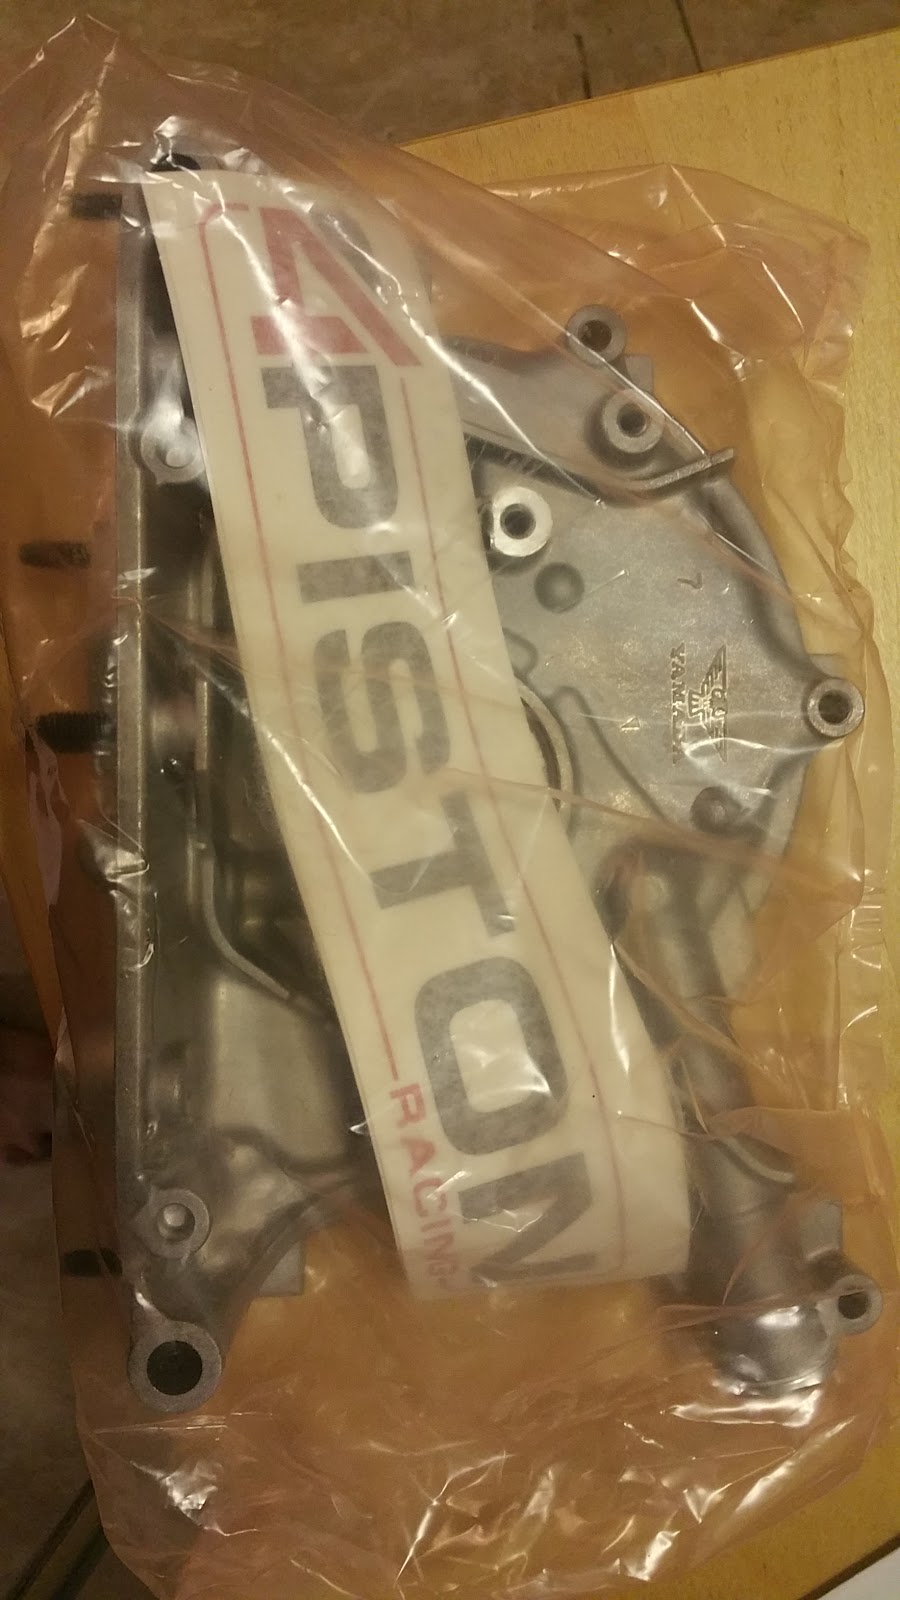
I'd known for sure that something was up with the bottom end. Before even leaving for japan I placed an order to 4piston for their upgraded oil pump. Its milled out, WPC treated, balanced and re-shimmed to be able to rev higher than the oem pump. The re-shimming of the spring also increases oil pressure by a few lbs over stock, which is a good thing in my case since I have much more volume for the pump to fill with a large oil cooler and oil fiter. I was also throwing around the idea of adding an Accusump for extra protection.
When I got home I had the box from 4 piston siting in m office.
Now that I had some time again I pulled off the oil pan to see the extent of the damage on the motor. I wanted to rule out easy problems like the oil pick up falling off of the block and not picking up oil, but once I removed the oil drain plug i noticed the magnet coated in metal and that's never a good sign.


The oil in the pan looked like someone had dumped a jar full of glitter in it.

 |
| carnage |
During the clean out of the Moroso baffled pan I noticed something that was a bit worrying and wanted to let people know about who may have this same pan. You can see the slag splatter from the welds on the baffles, these tiny beads flake off with fingernail pressure and can very potentially destroy rod bearings. It'd be a really, really good idea if you have the same pan to use an aluminum bristle wire brush or a wooden spackle to scrape them off and clean them out.

Here's my pan after the deep clean, I had removed the windage plate for better access to the bottom.

Obviously the motor would have to come out regardless of what i decided to replace it with so I got to work pulling things off where I inspected, cleaned and took notes of what i'd want to replace 'while I was there'.
I'd had a few conversations with some motor builders and was roughing out a plan of attack, I could obviously do anything i wanted but a huge factor in how far I wanted to take the build hinged on how damaged or clean the core i had was. For example, massive cyl bore damage would start to make a fully sleeving the block more of an option; and if I was sleeving i may as well increase the displacement. So on so forth . While speaking to the couple builders i made it clear my goal for the car overall was reliability, at this point I felt like I was working on the car more than i was driving the car and that was the opposite of what i wanted. I needed this thing to be able to turn session after session and keep going. I felt like I had been missing 13 out of 15 track days over the past year due to stupid little problems and wanted to negate those as much as possible going into this next phase. Reinventing the wheel is never conducive to reliability. Pump gas was a requisite where peak power was still much lower down the list.

Once I pulled the motor and separated the trans I got a better idea of what had happened. my guess as to what happened is that the clutch housing cracked first and its imbalanced weight spinning at 9k caused the flywheel bolts to start to backing out of the crank. Once this happened the imbalance got worse and started to oscillate the crank bearings and grooving them, once those had enough play it binded the oil pump and destroyed the gear and housing. All of this wouldn't have taken that long to from start to finish while on track.

You can see where they were making contact with the clutch disk itself. The threads of these bolts were almost completely flattened and they had started to try and pry themselves out of the crank.

Once the flywheel was off you would see the immense heat that was being generated as the flywheel squirmed on the crank, so much so that it had started to weld itself the crank snout

Back side of the fly wheel.

I was tempted to pull the head off of the block and check the pistons but I decided it would be best to drop off the entire longblock as a unit and pick it up the same way. I was set up to take the block down to RS Machine and have them document the damage when they finally took it all apart.
Meanwhile I had decided that instead of cleaning out and reusing the oil cooler it was a much better idea to just buy another one. They are not 'cheap' but the cost is MUCH cheaper than destroying a new motor from contaminates finding their way down the system from the old unit.

In the meanwhile I had done some touch up on the bay now that I had access with the motor out.

I also took the time while I had the extra working space to get rid of all the stainless steel hardlines that were being used for brake lines. A reader had noticed that they were singled flared (not double flared as they should be for the pressures that they would see) and after going through and inspecting the seats carefully i decided it was the best idea to just replace them with inverted flair stainless soft-lines. I took measurements and had custom lengths made for the remaining hardlines inside and out.

 |
| out with the old |
 |
| in with the new |
 |
| old electronic valve on the left, new valve in the middle |
After refitting the air gauge at 90* I did a soak test and make sure everything is air tight. I left the Accusump like this for a few days just to be sure, and will continue to check it before every event.


Below picture is from test fitting the sump in the floor space. I would have to move the hand held extinguisher elsewhere to fit the new canister. Also since space is at a premium I'm having to run the electronic valve satellite to the canister to get it all to fit. Had I bought all the parts specifically for the CRX I would have gotten the 2 qt sump for spacing constraints instead.


To make sure this was the best way to run everything I updated my wiring schematic layouts to include the switch, light and trigger.


For the Tee I'm using a bulkhead fitting with m20 washers to plumbed through the firewall.

Once all the hoses were cut and built I heat shrunk heavy duty rubberized non-chafe covers over the stainless hose and cushioned clamped everything down into risers to make sure there are no contacts with anything anywhere on the hoses.


 |
| switch testing. |
Now that the interior side of things was finished I had to connect the sump to the oil feed line. In the previous version of my oils lines I was going from the far passenger side of the oil cooler back over the cooler input and down the same path back into the oil feed adapter on the block. With this new system i decided the best way was to continue around down the passenger side frame rail where I Tee off onto the bulk head fitting.

I built the hoses needed to connect the oil cooler with the Tee fitting and wrapped it with non chafe Kevlar shrink that I had left over and some DR25 raychem where it needed to pass close to edges or corners.

I then cushion clamped it with removable 1/4" rivnuts

and routed it in a way that it wont come into contact with any edges on its way back.

It takes quite a bit of measuring and some shimming to get everything to play nice together.

Passing under the proportion valve just above the transmission mount.

I also built the other hose that will come off the other side of the Tee and hook into the engine block, for this hose I used heat wrap since it will pass behind the back motor mount about 8 inches away from the exhaust.

I also rewrapped some of the sensors wires that feed the dash signals and heat wrapped the wideband sensor lead.

also finally did a better job weather sealing the pass though.

Once it was all hooked I air pressure tested all the hoses and pressure switch.

Dead on the money the switch and light kicked on everytime at 37psi.

I got a call that the motor was ready and showed up to grab it. In the end I decided to go with 81.5mm bore RS pistons, ACL bearings, balanced assembly, total block refresh, 11.5:1 compression ratio, new ITR crank, previously mentioned oil pump, ATI damper, Competition clutch stage 4 clutch and flywheel, Skunk2 tuner 2 cams, new belts, new alt, Ti retainers, new valves, re check head and all ARP heardwear. Basically a few reliability parts on a 01 ITR block build.

 |
| The trip home |
 |
| end caps and crank |
 |
| reinstalling the moroso oil pan. |
 |
| clutch and flywheel |
 |
| all ready to go in |
 |
| oem filter for the initial brake in, then ill fill everything up and run it with the newly installed sump. |

While I had the motor out I also replaced the alt since its a HUGE bitch to do it when in the car.

I've also started to make it a habit of replacing the axle nuts every time I take them off.

Heres a pic of the fitment of the new oil lines around the installed mount and batter cables.


Also replaced the old silicone waterlines with some new ones. The upper line was a bit different in this kit i got. I think I need the b20 upper line to be the same as the old one. ill look into it but keep an eye on this for now.

I also got a new OEM clutch cable. The one that's in the car is stretched out and likely on its last legs anyways, especially now with the heavier clutch its chances of snapping are pretty good. This part # is for a CRX and will have to modded to work with the b18 motor. The DA integra is the one to get when you have this swap as it will fit without modding. Unfortunately, its been discontinued and since I only wanted an OEM Honda part I've deciding to mod the CRX one.


once you clean up the edges and slide the two halves together. I used a rubber heater hose to cover the metak part and exposed line and then raychem DR25 glue shrank it all together

After running the fuel pump and verifying all the fittings were tight and leak free I marked everything with tamper marker to visually be able to see if something starts to loosen.

After everything was all back together I filled the motor with standard off the shelf Penzoil 10w30. I started the car and checked pressures and temps while I warmed it all up temp. everything looked great. After about 20 min I turned it off and let it cool down over night. The next morning I did a compression check on the stone cold motor.
 |
| cyl 1 |
 |
| cyl 2 |
 |
| cyl 3 |
 |
| cyl 4 |
Compression was fantastic across the board. I started, warmed up and drove the car around the block under light load for 15 min. This was to flush any of the assembly lube and gunk out of the crevasses and galleys before draining the brake in oil. I was doing all of this with a standard OEM blue filter attached to the block (sans oil cooler and sump for the initial few warm ups) I didn't want to contaminate any of the rest of the system out of the gate if there happened to be a problem of this first couple start ups. Now that I had the car warm I drained all the shitty Penzoil and swapped the OEM filter for the block adapter that will connect the car engine to the rest of the oiling components. I had pre-charged the rest of the components with oil before before installing everything that way it was easy to just hook up the lines. After that was done I filled everything with Brad Penn 10w-30 high Zinc oil that I spoke about in an earlier post.

Now that the car had been started and run a few times, it was recommended by the builder that I adjust the valves again. Apparently the skunk 2 cams come coated with oxide fro hardness and 'wear in' after being run. When checking them I found all the clearances to be a little tight and backed them out to .007.

Finding TDC on my car has always been a little tricky as the cams don't exactly line up, crank is fine but cams are ever so slightly off. This is all fine as long as you can gauge when the piston is at the top of its stroke and for this I have found that my standard Craftsman 3/8th drive lines up perfectly with TDC when you can just the tippy-top of the '3' as it leans on the passenger side of the plug hole.


Once it was all adjusted and back together I fired it up to make sure that the rest of the system now that it had pressure wasn't leaking. The valves seem louder than before, but im chalking that up to not being as tight as before. I also heard that for whatever reason the skunk2 cams seem to 'chatter' more when cold.
