Ok once again i'm forgetting stuff, this has maybe been the longest period of inactivity on the blog ever, but just because I have been quiet does not mean that I haven't been working on the racecars and tracking a bunch. In between everything its sometimes hard to find the time to put together a post but im going to try and chip away from it for the next few days and see what I can do. At least cover the stuff that was important.
One of the first thing that I did after the last post was decide that I wanted to increase the aero moment of the rear wing by leaning the up right further back over the bumper. This moves the areo moment rearward and increases the leverage forces the uprights have on the chassis mounting. This also serves to increase the distance from the upright to the camber surface of the wing that will slightly improve efficiency. I had a file built up Solidworks and had them jetted out of 1/4 aluminum. You can see the old one Vs. the new one in the images below.


old
Once on them painted and on the car they had a much more svelt look to them.

This made the car look really cool. Sean shot some pictures of it with a real camera and wrote up an article about it on NaritaDogfight.
Check that out here:
https://thenaritadogfight.com/2020/09/17/feature-the-forging-of-a-silhouette-an-isf-unrivaled/


After an quick alignment and corner balance I took the car to Buttonwillow for a track day to stress test the changes. I was on the older AR1 tires that I knew would be about 2-4 seconds off pace but still, the car did pretty good. I had some minor teething issues with a few things but overall the car managed a respectable 1:55 baseline in the heat (103 deg) with a rather wonky shock set up. I was happy with a few things but also I knew I need to adjust a few more.


When I got home and backed the car off of the trailer I noticed that there was some pink coolant residue on the deck. I pretty much knew right away that I had the dreaded coolant valley plate leak. This is, one of the very few, known problems on this motor. The factory design called for a sealant bond only (no gasket) on a plate just under the intake manifold to the main coolant galley in the 'V' of the motor. This plate; becasue of its location, sees all sort of heat and cooling related expansion. Not surprisingly after a while they are known to start to de-bond and leak the tell tail Lexus Pink coolant. This bonding failure tends to happen faster on cars that are driven harder and see higher coolant pressures and temperatures. I was keeping my eye out for this since getting the car becasue I only knew it was a matter of time before my went.
And go it did. Once I got it up in the air in the garage I saw what I'd thought was a small leak was actually a pretty big splooge. When the plate fails the coolant drips down the back of the motor and around the transmission- some to do with of the inclination of the motor but mostly to do with the the air movement in the bay at speed. This causes the fluid to whip around and cover everything in sticky pink fluid. Once the fluid drys it turns into insidious pink powder.


I decided I'd double check what was left after I drained the system to see how much id lost, and to make sure that I didn't run the car low on coolant. After all this mess it turns out I'd only lost about a quart and a half. Either way, Once you see the pink stain you know your in for some pretty serious labor. Literally everything above the valley plate needs to come off in order to properly remove and re-bond the plate. There is all manner of fuel lines, electrical looms, intake pipes, injectors and other brittle heat soaked connectors to remove. Its no wonder that a Lexus sealer-ship charges around 3 thousand bucks to do this job.
I went slow to make sure I kept collateral damage on any other parts to a minimum and within a couple days I had everything apart 'by the book'. As a bonus I'd managed to not crack any of the SUPER expensive injectors, but I still had a few casualties in some brittle hoses and plastics. You can see here the shear amount of stuff you need to remove just to get to the problem area..

I noticed quite a bit of oil pooling in the intake manifold upon removal and made a mental note to see if there was something I could do about that while i was in here..

The biggest bummer of the design as far as serviceability is that the intake manifold ports face straight up- so any little bit of plastic detritus that brakes off has a direct path down into the valve tops. In my case, becasue of the mileage of the car, I had all sorts of cracking plastics and down. Luckily for me the cyls that caught the majority of the junk happened to have been closed on the compression cycle. Still though I had to bore scop the open cyl's to be 100% positive that nothing fell down the open ones and was resting where I couldn't see it. There was some grime on the valve tops that I wanted to clean up before eventually getting it all back together but I wanted to get valley plate on the car first.

After cleaning up as much of the plastic chunks i could find I taped off the head and got to work pulling the valley plate off of the car. All the pink gunk is dried phosphate from the Lexus coolant. When it wicks any moisture into it, it turns exceptionally sticky- like dried icecream.

Once I had the plate itself off I spent some time scraping and cleaning it of all the old grime in order for the new bond to stick.


Now that I got the coolant passages sealed up and was allowing the bond to set and dry for the 24 hours I wanted to circle back and take car of the remaining grime that had fallen onto the valve tops.
You can see here it was the standard sandy oily crap that tends to accumulate in creases and crevasses that had dislodged when I removed the intake manifold and had fallen into the intake runners.

Just using suction to clear it up wasn't doing the trick.

I used a mini funnel and some sea foam fluid to cover the valve tops. This fluid is made to loosen oil and carbon deposits and did the trick on all of the sticky sandy oil muck. This allowed me to then use my shop vac with a boba straw and some clean microfibers to wipe down the oily residue coating the runners and suck up the remaining gunk.

I was also able to repin a few connectors that had gotten cracked when unplugging them..

It seemed that all of the black plugs were the most brittle. I think that Lexus figured this out to becasue of the replacements I bought all came in standard grey.


Now that it was all coming together I wanted to tackle a problem I was noticing with oil blow-by. I'd known for a while that the ISF tended to fill up my small catch can rather quickly when driven hard. Lexus had actually come up with a pretty clever system they called a AirOilSeperator box in which the crankcase blow by would theoretically be sucked into a box that had a series of baffles that would seperate the oil from the crankcase air and allow the oil to drain back into the motor. I'm sure this works OK for normal driving but once you really start to push the motor and add G forces I noticed that the car would smoke on start up when burning the residual oil from the previous session. As a fix I bought a rather small catch can that had a bracket that bolted to the cam phaser on the left bank.Heres a crude diagram:

It seemed to work for a bit- but would then fill up and start to then ingest the oil that was now brimming in the canister. Emptying the canister was a pain in itself becasue it had a couple small thumb screws holding it on that would be very hot after a hard drive. I wanted to see if there was anything I could come up with to help alleviate the issue.
Once I had everything apart I took a look at the OEM box and check valve.


I use a die grinder and hogged out the threads and end of the new separator box. I chose the NPT fitting becasue the width widens as you run it down. I tapped the first 1/4 inch to get the fitting started and snugged it down to be air tight.

I went a step further and mixed up some JB-weld to give the part some strength as well as to be triple-sure that the fitting would stay air tight. Any air/oil leaks here would be both, a huge mess, and cause a bunch of EGR related check engine lights that I would not be able to diagnose and fix unless I pulled everything apart again.

After baby sitting the part and manually flipping it around every few seconds until it set up- I was happy with the connection.

Once it had dried overnight I installed the new air/oil box with my new fitting.

I did a dry install of the intake mani and throttle body to make sure that the new hose size was going to be able to fit in the gap, it worked out perfectly.

Now that I had the first part of the blow by problem solved I had to place an order for some parts for the rest.
While I waited for those parts to show up I decided to pull apart the Intake manifold and clean all the residual oil caused by the excessive blow-by from the runners. After pulling it all apart I noticed that towards the back corners there was some debris trapped in the plenum.


You can see where some part of the casting process necessitated the need for a seam right near the top of the bell mouths. Remembering some velocity CFD I had seen done on intakes I figured that this was likely not helping things. The idea is to get the smoothest airflow possible to the combustion chamber you can, and things like the ridging and general pocking you see here probably isn't helping.


While I was in here I figured why not have this all smoothed out. I was able to drop the manifold off at a friends business for a rush job on a hand porting. A few days later I picked up the manifold and was pretty happy with the results.


As you can see he was able to smooth all the transitions from the throttle body, get rid of the bell mouth seams and also hit the ridging and smooth out down the runners. I was not 100% sure this is going to be a 'huge' change but i knew it was better than what was there before.
Once I had the Intake manifold and the wiring looms done I moved onto installing the final parts of my catch can set up. I got a 1qt competition catch can and added the new fatter line to the top of the can. Out of the side of the can I ran a 3/4 hose from a properly sized manifold pressure check valve back into the intake manifold. Now, instead of a couple laps I am able to run a couple sessions without needing to worry about emptying the blow by canister or ingesting a ton of oil into the intake manifold.

As a test, at the end of a subsequent track day I measured the oil I pulled out of the can and proved the expanded volume of the hose from the separator box was indeed slowing the rate of the blow by substantially..

Grand total for the full day of tracking was 12oz as opposed to 12oz in a few laps.

After I had it all wrapped up I attended a ClubRacer NDF X AC event. I was going to put all of the new stuff I had done to the test on track. The event was run with the first session as qualifying to make it into the shootout. Once in the shoot out you had 2 sessions with 3 laps each to set the time that would be used to stack up against the other 30 cars that got sent out on track in pairs with a 20 second gap. I was in the NA group against a really powerful Corvette with aero and an really quick and sorted s2000 that somehow found a new set of tires that had been discontinued for 5 years that juuust stayed inside the grey area of the rules (well played). The ISF, on paper, is always going to be an odd duck in time attack grids- but the work ive been putting in is starting to pay off. I was able to put down a time I was happy with at only the second event the car had attended in its current form. The main problem was the heat and heat soak issues that really only gave me one lap at full power. That data indicated a reduced HP output by around 35 horse power anytime the car passed 210F. And in this case, as hard as you attack corners and drive well nothing really makes up for such a reduction in power in such a heavy car. Its physics.

I also noted that I was also dealing with some oversteer, something that i would want to try and fix before the next event. All in all, with my set up I could be happy with a 3rd place result next to some very purpose built cars and fast drivers.
Video of the attack sessions here: keep an eye on the water temps.


I also sent in a oil sample to be tested for coolant markers, just to make sure that I hadn't some how blown a head gasket. All came back good, thank god.

A small but important thing was also getting rid of my halon bottle and replacing it with a dry extinguisher. These are so cool, only weigh as much as a road flair but have a full 50 seconds of fire fighting capability.

I mounted it to the seat bracket for easy and fast access even with gloves on.

The next day I had planned was ButtonWillow, it being October in California it was still pretty warm but slightly cooler Chuckwalla day a few weeks before. I was on the same tires as the NDF event excited to finally see what the car would be able to do at what i'd consider one of my 'home tracks'. After all I had 3 ultimate goals for the car when I started the build. I had no idea how attainable they would be but I made them anyways.
1. A 1:50 lap at Buttonwillow Raceway
2. A 1:19 lap st Streets of Willow
3. A 1:53 lap at Chuckwalla Raceway

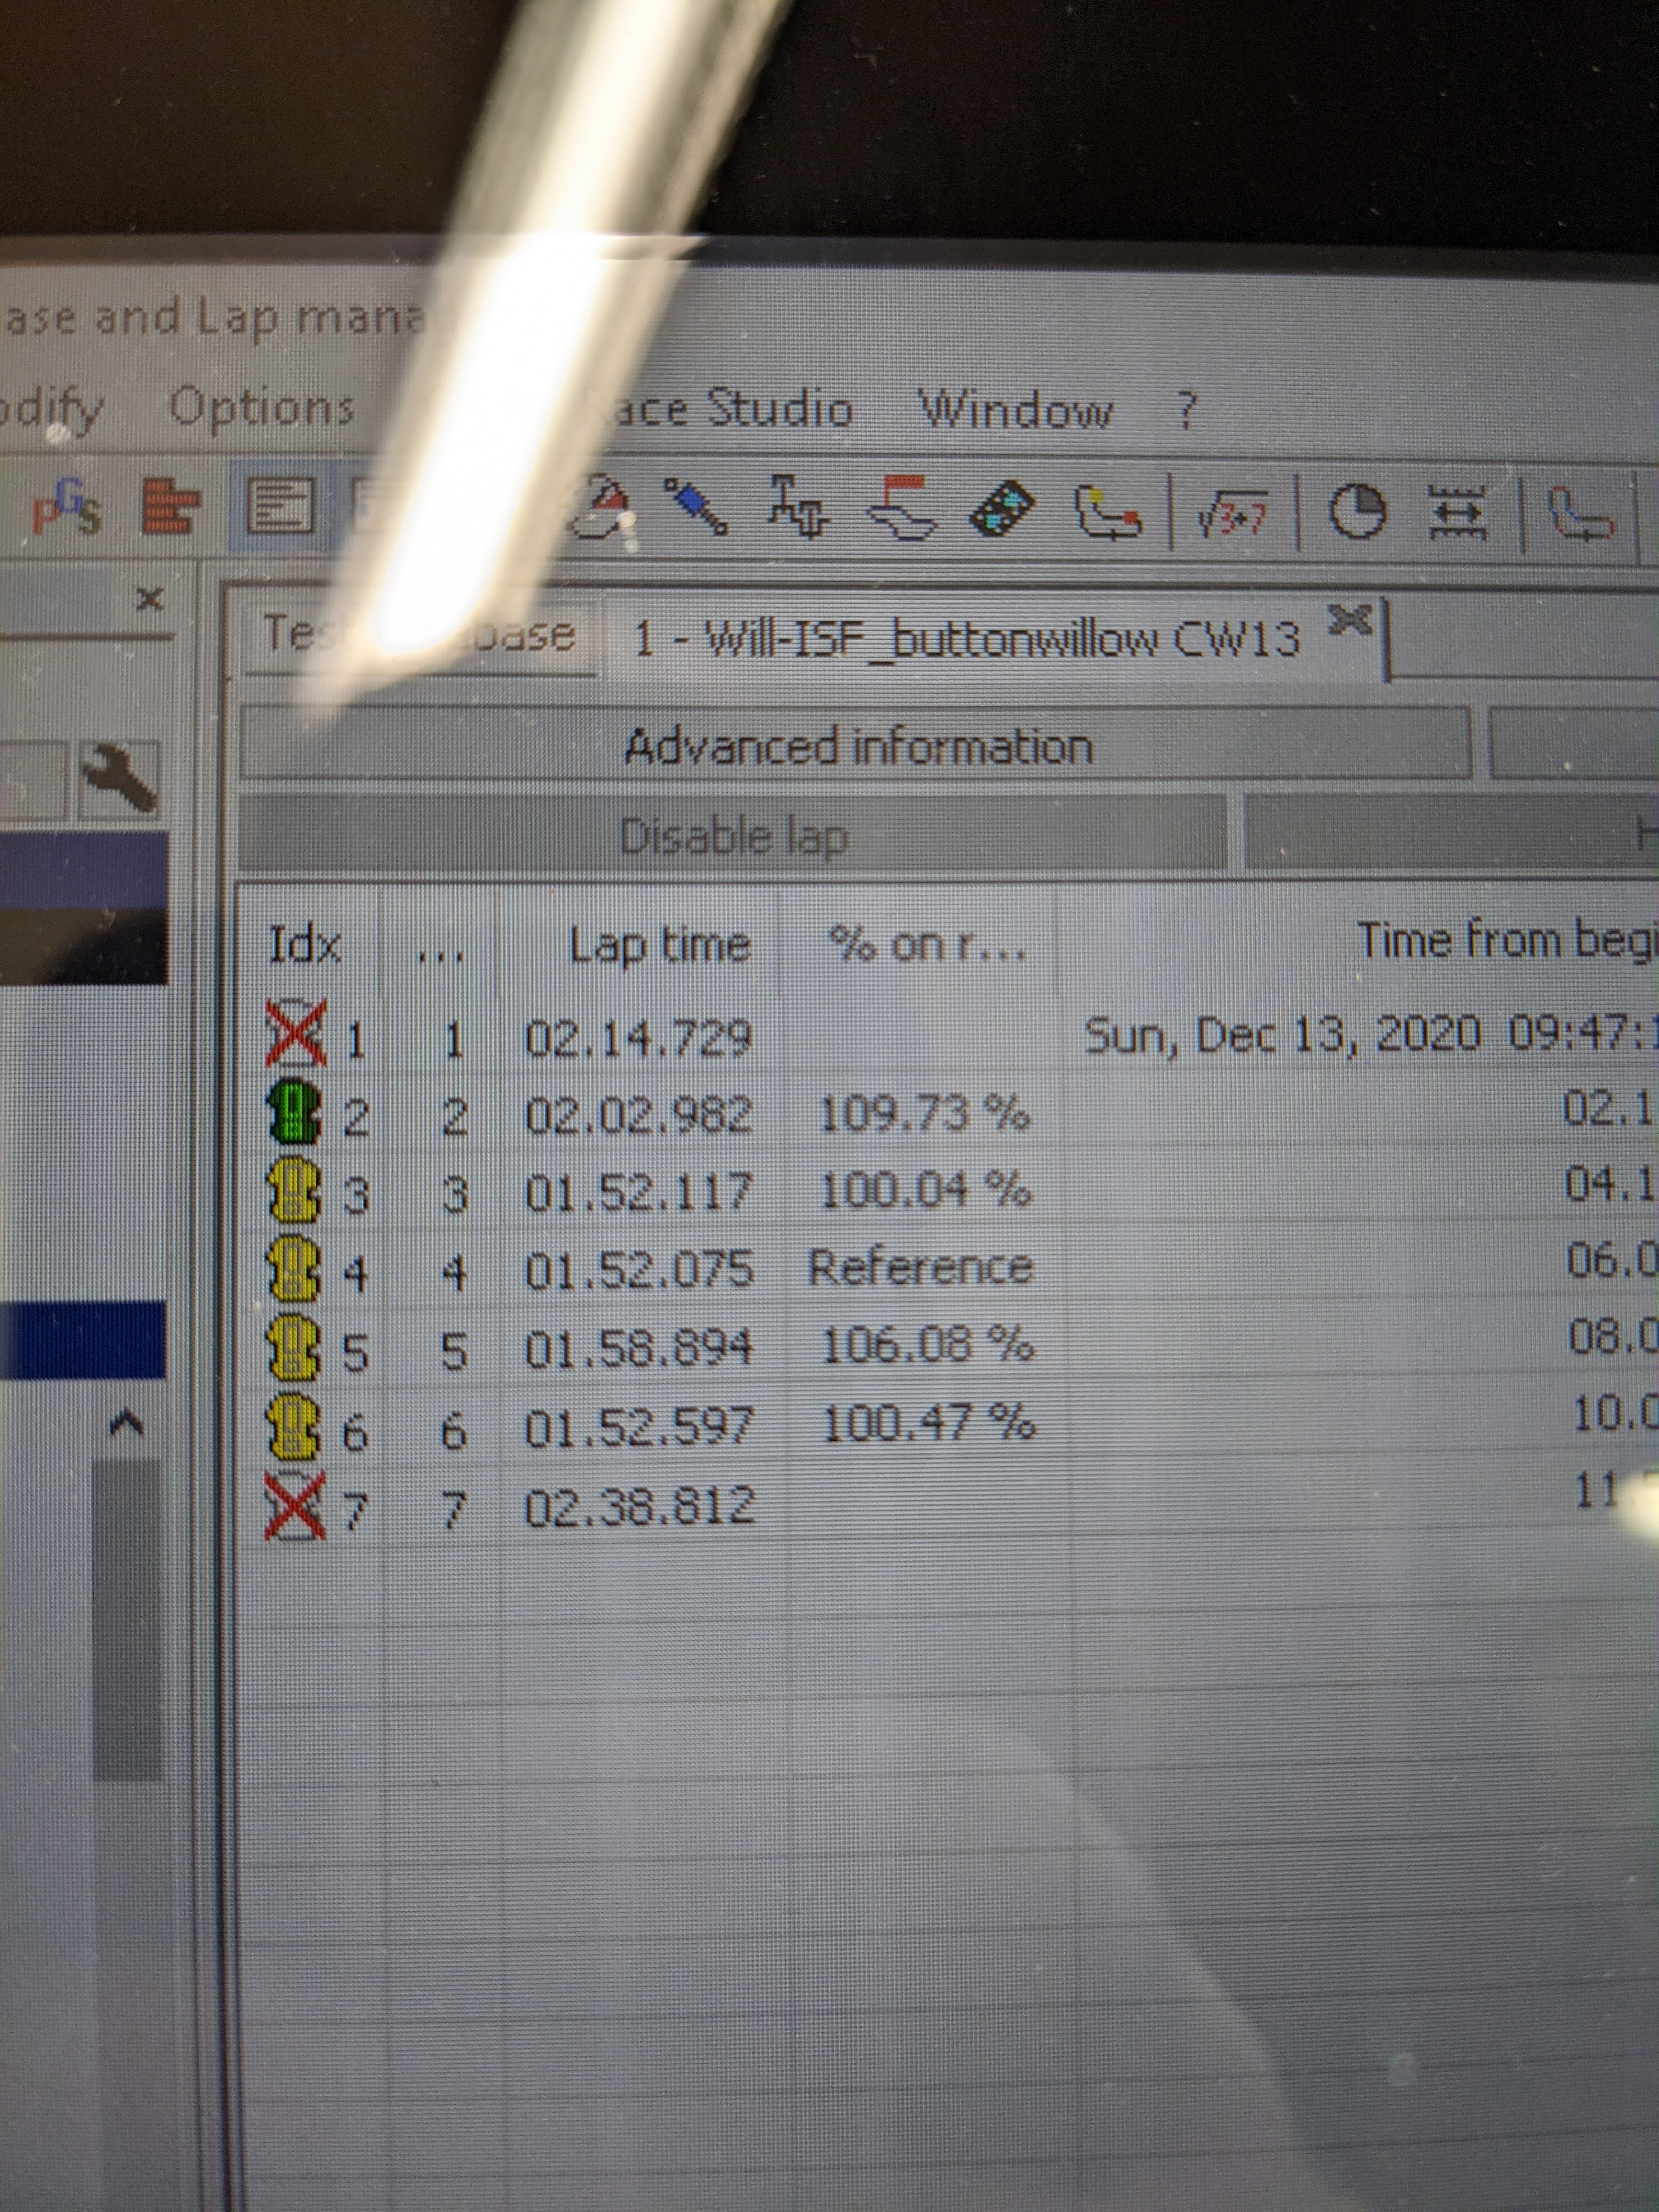
My first session showed promise but I was traffic blocked unfortunately and had to compromise some lines. Second session I was able to get back out and run a 1:53.1

This was really cool. I still felt like the car wasn't 100% happy, especially the snappy rear- but I knew I'd driven it close to the max. I also knew that based on the temperature the track was at when I set the low 53- it would only go faster on a cool morning even if I left it alone and made no changes.
After getting it back to the house I did a once over like normal. Now that I was using it hard I wanted to be diligent about keeping an eye out for things since the car was just completely apart.
One thing that I did notice was the deflection on the USRS bushing. The ones that I had in the were made out of hardened poly material. They are leaps and bounds forward in terms of OEM to this but the witness marks told me that there was still quite a bit of deflection occurring under load. This deflection translates itself into dynamic toe changes at the tires and makes for a wonky feeling car. To fix this I noticed the Figs Racing had come out with a new bushing that was entirely spherical for hard track use.


I installed the new bushing and realigned the front end. I also reset some data parameters and took the car out for its first event at Streets Of Willow.
You can see the video here-
Again the first few laps in the first session were full of traffic and "what could have been" but I still managed to set a new PB of 1:21.1. This was surprising becasue I didn't feel like I was driving the car that hard in those sessions. It also meant that I was faster at SOW, BW and CVR on a street tire than all of my PB's at those tracks in the CRX on Hoosiers.
After looking at data overlays of my steering angle and throttle inputs it was pretty apparent that I was still getting tire slip on corner exit and having to catch it. Its fun to drive like that and exciting to watch on video but as far as time, its not going to be the quickest way around the track. I resolved to try and increase overall grip on the Font and Rear before the next even at Chuckwalla.
I got some carbon parts off of a Dallara Prototype that would fit perfectly as canardsand installed them. I also made larger and wider spats for the front wheel covering when they are turning.
This should keep the pressures loaded on top of the splitter and create more downforce on the front end to match the increased wing angle out back.


I also decided to add a rear gurney flap to the wing to increase its efficentcy. I wanted to be able to get to the track and have everything I needed to make the adjustments already installed. I figured if this was too much with the wing angle AND flap and I would just need to razor it off.

My next event was at Chuckwalla CCW which i really enjoy as a track. Its so different that CW that it feels like its a different track all together.
By now my tires were getting a little long in the tooth and I could tell that they were starting to loose the peak grip that they had had when they were new. I was looking at the data I was able to see I was still getting the wheels speed jumps at corner exits, meaning I was breaking traction at a part of the corner that the aero didn't always help. I would need to tune that out with the mechanical grip from the tires shocks and the sway bars.
Regardless I was able to run another PB for the CCW time. Car felt good, and I was starting to get the hang of how I needed to drive it to be quick. Its not as 'momentum' as the CRX was but tends to respond better to earlier braking and rolling on the throttle earlier in the corner.

Video of the CCW day here:
Now that I had finally used up all the tires and needed a new set I decided that I would try 295/35/18 in the rear. I had originally wanted to keep the car a square tire set up so I could rotate them around the car and get more life out of a set, but I figured that the additional grip of a larger rolling surface (Length and width) on the drives wheel made trying a new tire approach worth while. Increasing the tire height out back increased the contact patch by 3% which is enough to start seeing a difference.


The first thing I did was raised the ride heights overall, then reset the rake. There would now be natural rake in the car becasue of the tire size mismatch but I would want to optimize the front and rear differences to get the optimum AOA and height off the ground of the front splitter.

This is made easier by laser levels and level plates and laser levels.

Once the ride heights are set I move the car around and let it settle for an hour or so. Once that is done I re-corner balance and re-align the car. Such a small change like this can typically set off a series of steps that need to be done in order. Trying things is much much harder if you don't have the tools and knowledge to do all of this on your own. IMO investing in tools to and knowledge over fancy parts is priceless- investing in both is best.

Heres a quick shot of the finial weights of the car with the new wheel size rake. 210lbs of weight in the drivers seat and 1/2 tank of fuel. 3475lbs is not great but not horrible.

Now with the new set up I was anxious to get back out to Buttonwillow to see if I was heading in a positive direction. I was on a fresh set of staggered size A052 tires, new rake and alignment. New canards and the weather was much cooler than it had been when driving the car up to this point. It should be slightly faster based on the cooler temps alone, but Id be able to see in the data how much was track temps and how much were the changes I'd just made on the car.
As it happens, the night before and the morning of when pulling the car off the trailer or moving the car around I would occasionally get a Christmas tree of lights on the dash. The worst light to get was the VSA (vehicle stability assist) becasue it meant that I wouldn't be able to put the car in sport mode which was required for me to be able to have anyspeed whatsoever on track. It would clear with the OBD2 scanner but frequently come back
I worked on the car right through the drivers meeting and up to the start of my session. The code was for something-something transmission related. My best guess was it was the shift selector switch going out and not telling the transmission ECU what gear I had selected. When signals dont match its confused, throws flags, and limits operation. To try and fix this I was under the car manually moving the selector around, which is not ideal being its situated in a crack between the transmission and chassis above the hot exhaust.


After failing to fix it a few times and starting to think the whole day and tow out would be a wash, there was one time that I fired the car up and it just worked. No codes or VSA lights. I left the car running and ran and got a wristband to be able to go out in a intermediate (slower) session than I was used too. It wasnt ideal but one session would be better than none.
Video of the session here:
I was able to find a bit of clear track and run quite a few laps (more than I normally do) back to back since I knew it was maybe my only chance to do so. Thankfully the engine and trans temperature was staying in check on account of the cool damp morning air and the tires didnt really seem to fall off becasue they had the magic first day ju-ju in them still.
When I got clear laps I was able to run within a 5/10 spread of the PB. This means the car was working much more predictably than before and I had made steps in the right direction.
Once I got the car home I decided that I would change the shift selector and fix the problem for good.

I removed the exhaust dropped the transmission and removed the switch assembly.


The old one didn't feel bad, as I could still fell the detents clicking contacts, but electrical stuff is weird so I was happy enough to have a new one.

All wrapped up and the exhaust re installed. Driving it around the block didn't trigger and CEL's..

A couple weekends went by and I had another event scheduled for Buttonwillow again. I was excited to just be able to drive and not have to be wrenching on the car. I loaded up the car on a Thursday night and the plan was to wake up and drive it out under its own power to ButtonWillow the Friday morning. I woke up like planned and went to pull the car out only to see that the VSA light and CEL lights come back on halfway down the driveway. Needless to say I was annoyed, having thought that i'd fixed it with the new switch but seeing I obviously hadn't meant I wouldn't be taking the ISF out that day. After some contemplation I swapped all my track gear over into the NSX and tagged it in for track duty that day.


It was fun, but I really wanted to be driving my ISF. Vid of the NSX laps here:
Once home, and determined to get to the bottom of the issue for real this time, I broke out the Electrical FSM and the Standard FSM and traced
voltage and checked all of the wires. There was some confusion when I
realized that the factory electrical diagram had the transmission
signals in the pin out shifted one hole over. Having checked it both ways I verified everything checked out- but using different wires than the factory was telling me (weird). I traced each signal along its circuit from each
power source and didn't come up with any faults. The FSM's last suggested remaining
step is to replace the entire Transmission Control Module (TCM). Thinking this unlikely the cause I pulled it
out and took the cover off to inspect for any damaged or fried
components and didn't see anything obvious. I would be surprised if the module went bad- but all signs according to the manual are pointing there (That is
unless there is some really really sneaky hidden intermittent short
somewhere in the loom that runs down the back of the engine.)
The TCM module is buried under all the rest of the engine looms in the engine bay and is
responsible for sending the solenoid signals to the transmission and the
CEL to the dashboard. Plausible but unlikely culprate.


You can see in the picture below from the electrical manual that power originates LH-IG fuse. I replaced this fuse with a new one to be safe, then it goes into the the park position selector (the new part I installed on the transmission) from there and depending on gear it pipes the 12v+ signal out to a junction connector where it branches the signal via bus pins to the ECU and the TCM. Both of which read the signal from the junction at the ECU and at the TCM. I took a day to contemplate and come up with a plan of attack.

My plan was basically that I would just have to verify everything for myself before starting; which added a
substantial amount of time and complication to the trouble shooting.
Very strange to see the factory service manuals were wrong on the pinouts for the trans ECU and the Engine module. They are not hugely off but varied by a couple pins. It took a substantial amount of time second guessing my results- I even looked at several different ones, including the online manuals from Toyota/Lexus and the Toyota/Lexus hard copies that I have in my garage, all verified to be for my Vin range.
In the end I had to cede to the reality that the 2 connectors in question were indeed off by a pin. And having spent a whole 'nother day second guessing myself and my results I could finally get to actually diagnosing and fixing the problem.


After getting a good understanding of the way the engine ECU and Trans ECU were
taking to the trans shift switch I started to gradually widen my scope
from problem components to the harnesses themselves. I pulled the
harnesses apart on the legs that i'd identified, everything checked out.
When reading the selector live data with the techstream I was finding
that the fault was caused when the car would see Reverse and another
Shift signal at the same time, which is a parameter for the TCM to throw the code.
At that point I could isolate it to something happening with the
reverse circuit, not necessarily when it was in Reverse, but there was some
confusion coming from the R bus pins in a terminal junction connector. I
went into the electrical FSM and followed the path backwards through
the harnesses from the reverse lights...
This is when I was like
"OOhhhhh...." I noticed that there was a signal coming from the Main ECU
Bkup wire at the termination of the lights. I assume this is for a "back
up light busted" warning on the dash or something similar.
It all started coming together...
My theory.. the ECU(s) get a constant memory voltage from the battery.
I'm postulating that this current was back feeding from the ECU-
through the tail lamps- back to the under dash junction box- and back
up the e73 connector where the factory splits the signal from the
transmission selector.
This junction has pins going to a common bus from
A) The reverse lights. B) The transmission ECU.. C) The Engine ECU. D) The shift selector switch..
This meant that there was an errant
voltage getting read by the transmission ECU (the one that throws the
cel) as well as all the other common pins on this bus. This 12v from the
back up lights likely coming from the engine ECU.. This all jives with
the high resistance I am seeing when reading the pin on that circuit. To test this I clipped and
installed a switch on the wire going to the 'back up' lights from the
e73 bus connector. Sure enough when it was switched 'on' I would get the
interference signal and a CEL on the dashboard. When switched 'off' all would
be right with the world. So, in short, it wasn't a problem with the
selector, fuses, ecu.. it was a problem occuring in the common bus; and
when the car was running and in drive or whatever the trans ECU would suddenly see this other voltage telling it the
shift selector was ALSO in reverse.
Not wanting to mess around I removed the R signal completely from the
e73 bus and ran it direct to both the transmission ECU (which like I
said is responsible for throwing the code in question) and to the engine
ECU. Now they both get clean signals exactly where they need to be.
Problem solved.

I cannot imagine paying someone to diagnose this. It would have
been a nightmare bill or a bunch of replacement parts that were completely
unneeded. I'm glad I like to poke around and have an understanding of this
stuff. At the moment I don't have reverse lights; NABD on a track car..
I'm going to eventually relay a signal, maybe from the floor shifter
itself to power an electromagnetic relay to pop on the tail lights. Pretty low on my priority list to be honest.
Theres still a lot more to get us from there to current on the ISF stuff but this post is getting pretty long so ill cut it off here. Ill start writing the other one this week and hopefully have it up soon too.